PocketID with QuFabric Self-Hosted
PocketID is a simplified identity management solution designed for self-hosted environments, offering a lightweight and easy-to-deploy option for authentication.
PocketID is secure and effective but makes some tradeoffs in terms of features. Notably, it does not allow scoping the access of API Tokens. Keep careful track of the token used by QuFabric for management.
Management Setup (Recommended)
Add PocketID as an external IdP directly in the QuFabric Management Dashboard. This is the simplest approach and recommended for most deployments.
Prerequisites
- QuFabric self-hosted with embedded IdP enabled
- PocketID instance with admin access
Step 1: Create OIDC Client in PocketID
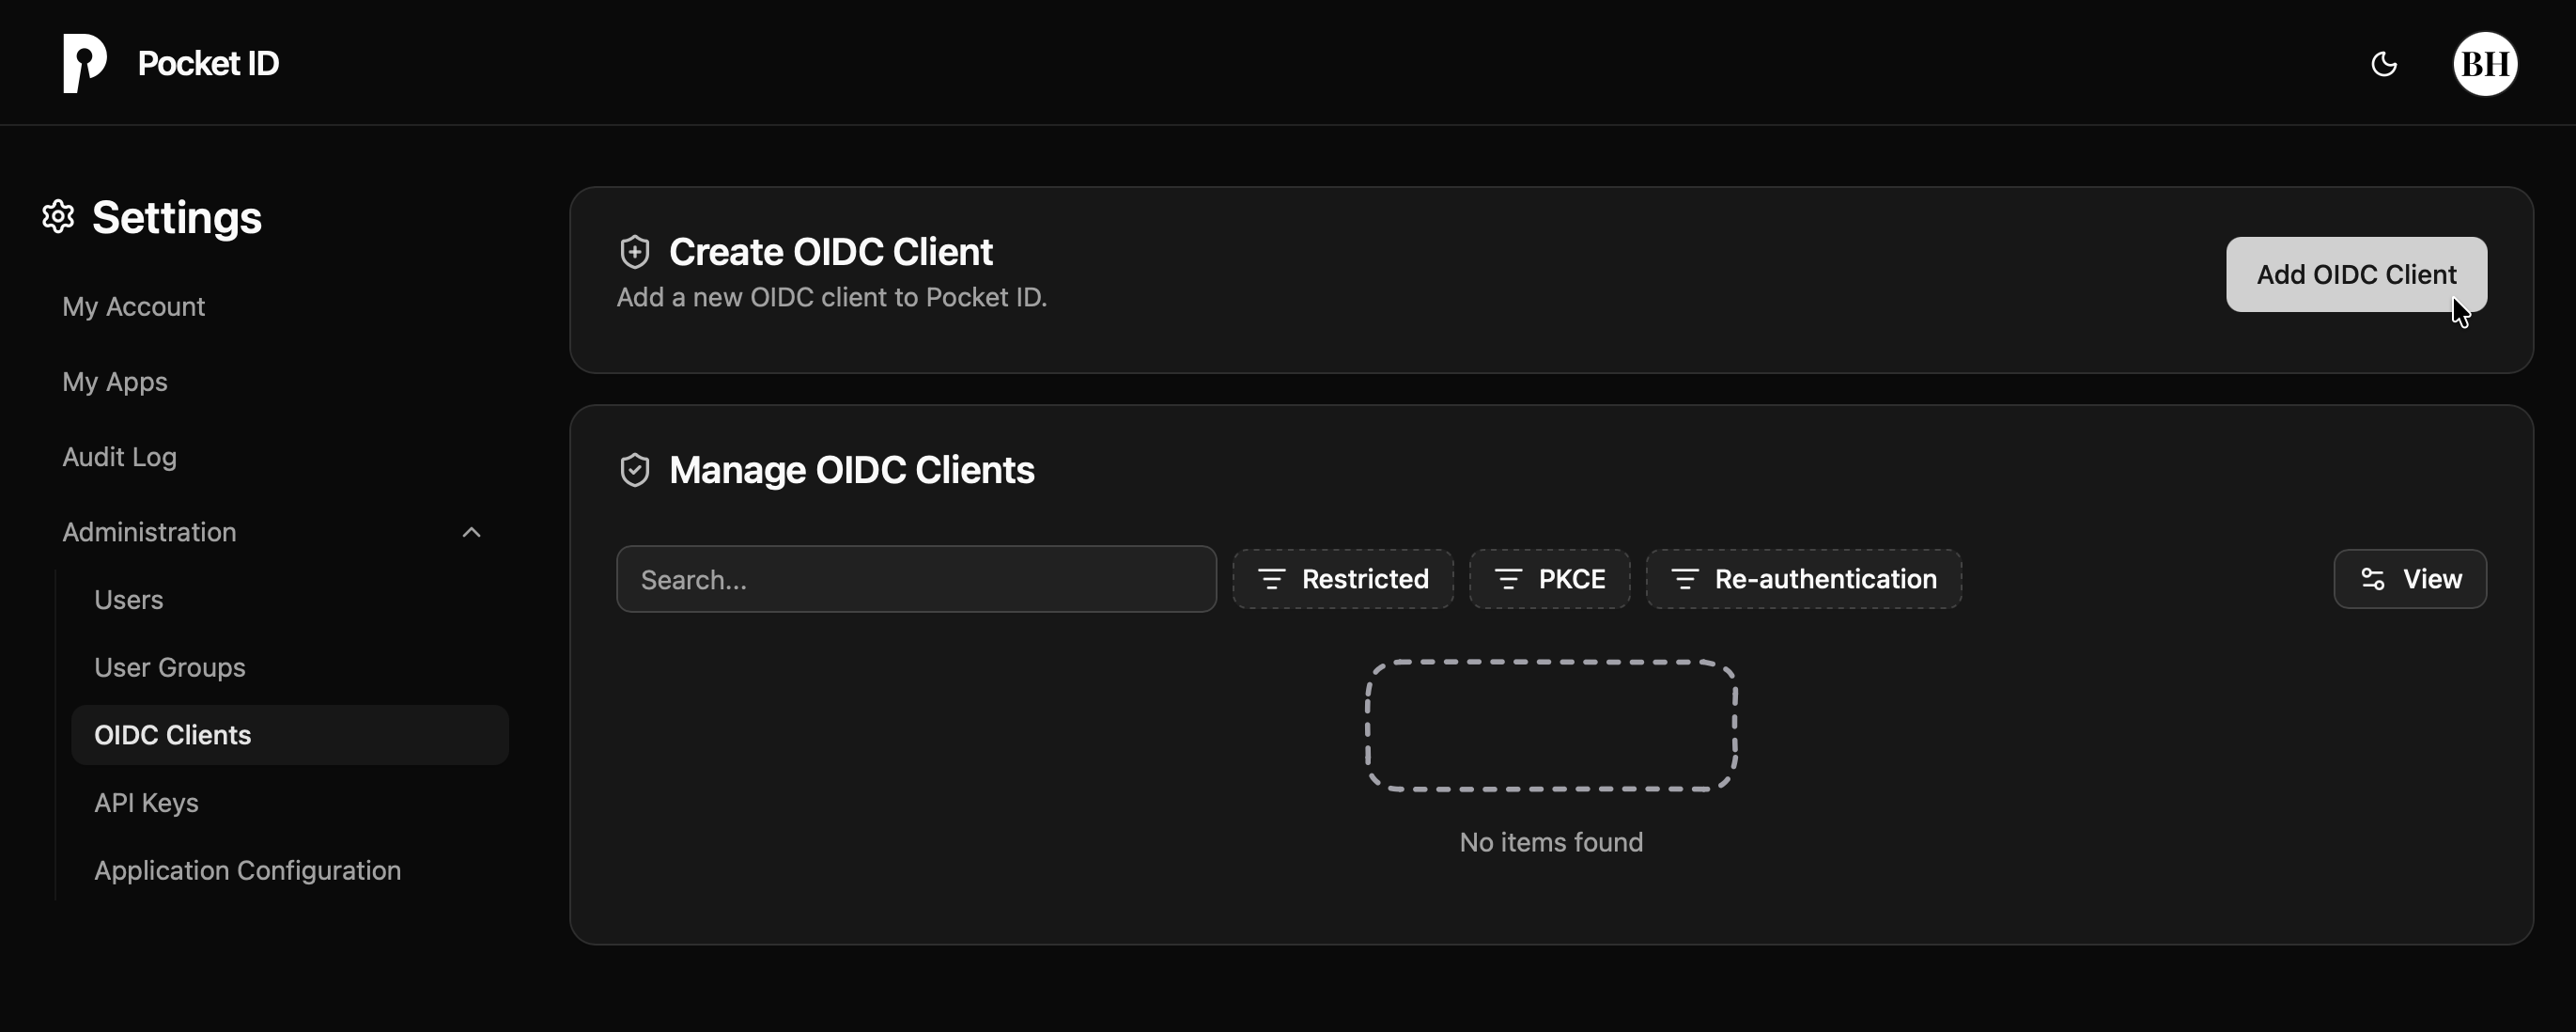
- Navigate to PocketID console
- Click the Administration dropdown in the left-hand bar
- Select OIDC Clients
- Click Add to create a new client
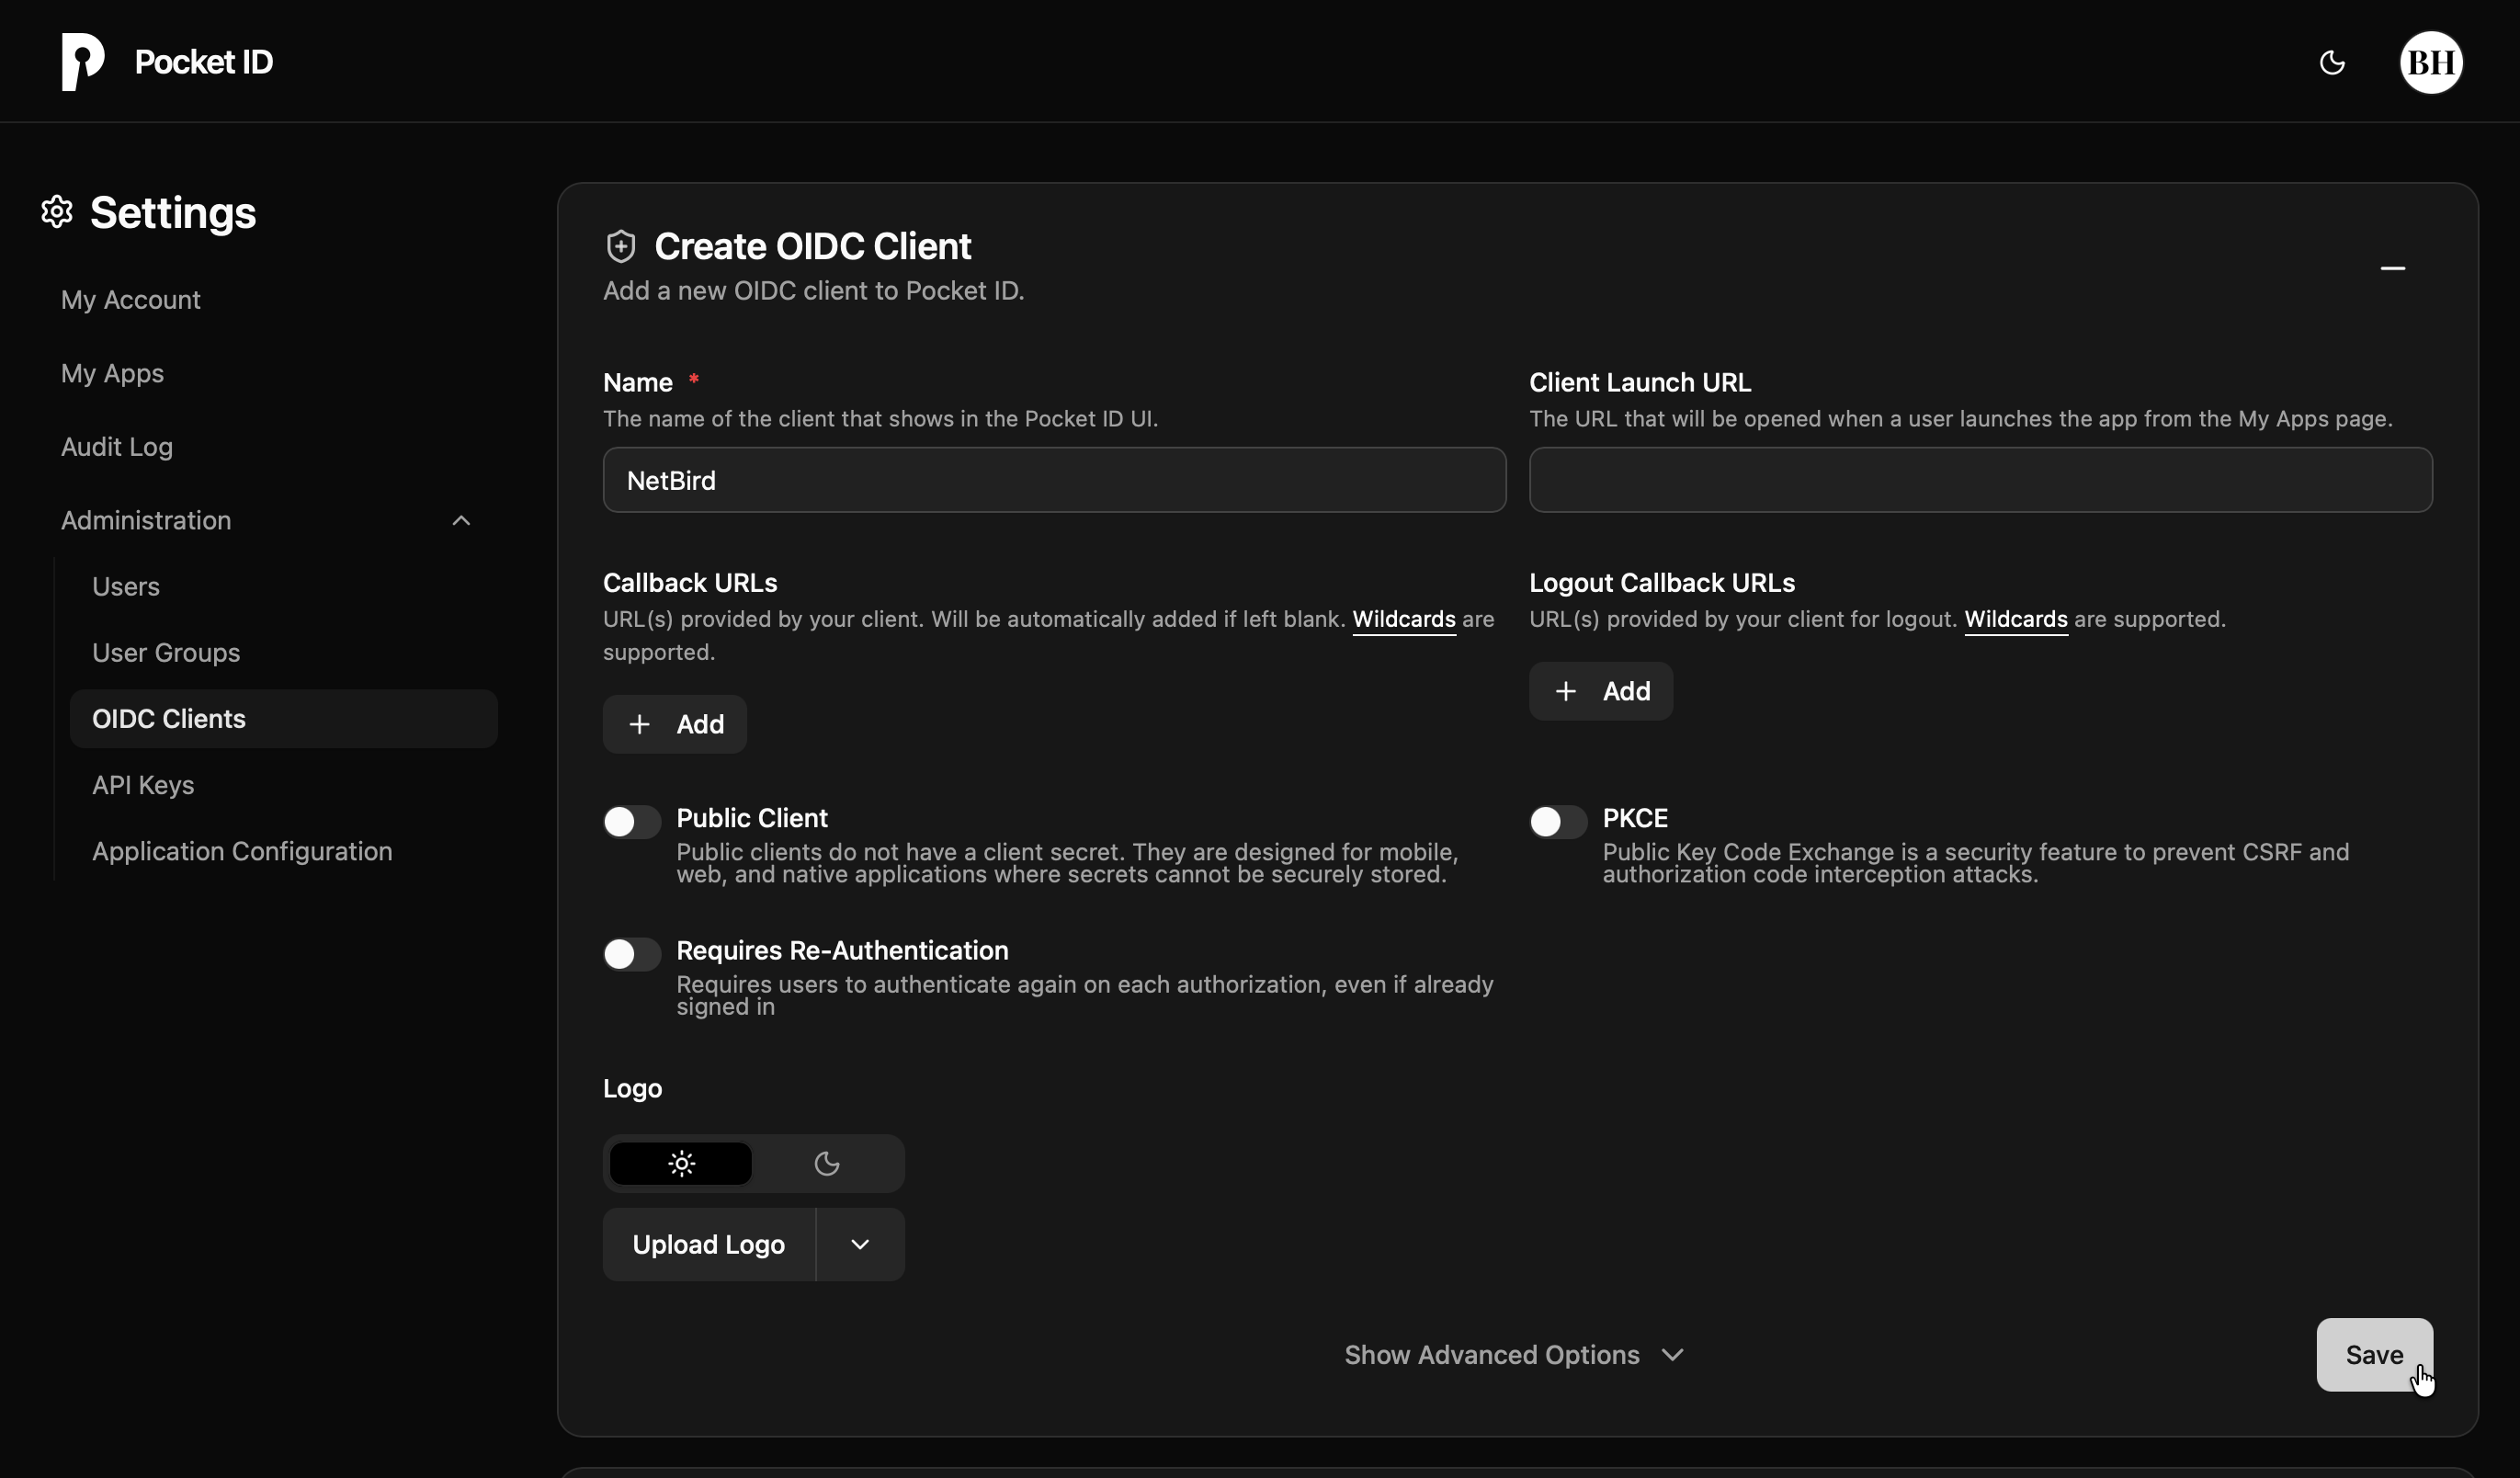
- Fill in the form:
- Name:
QuFabric - Public Client: Off (for confidential client)
- PKCE: Off
- Name:
- Click Save
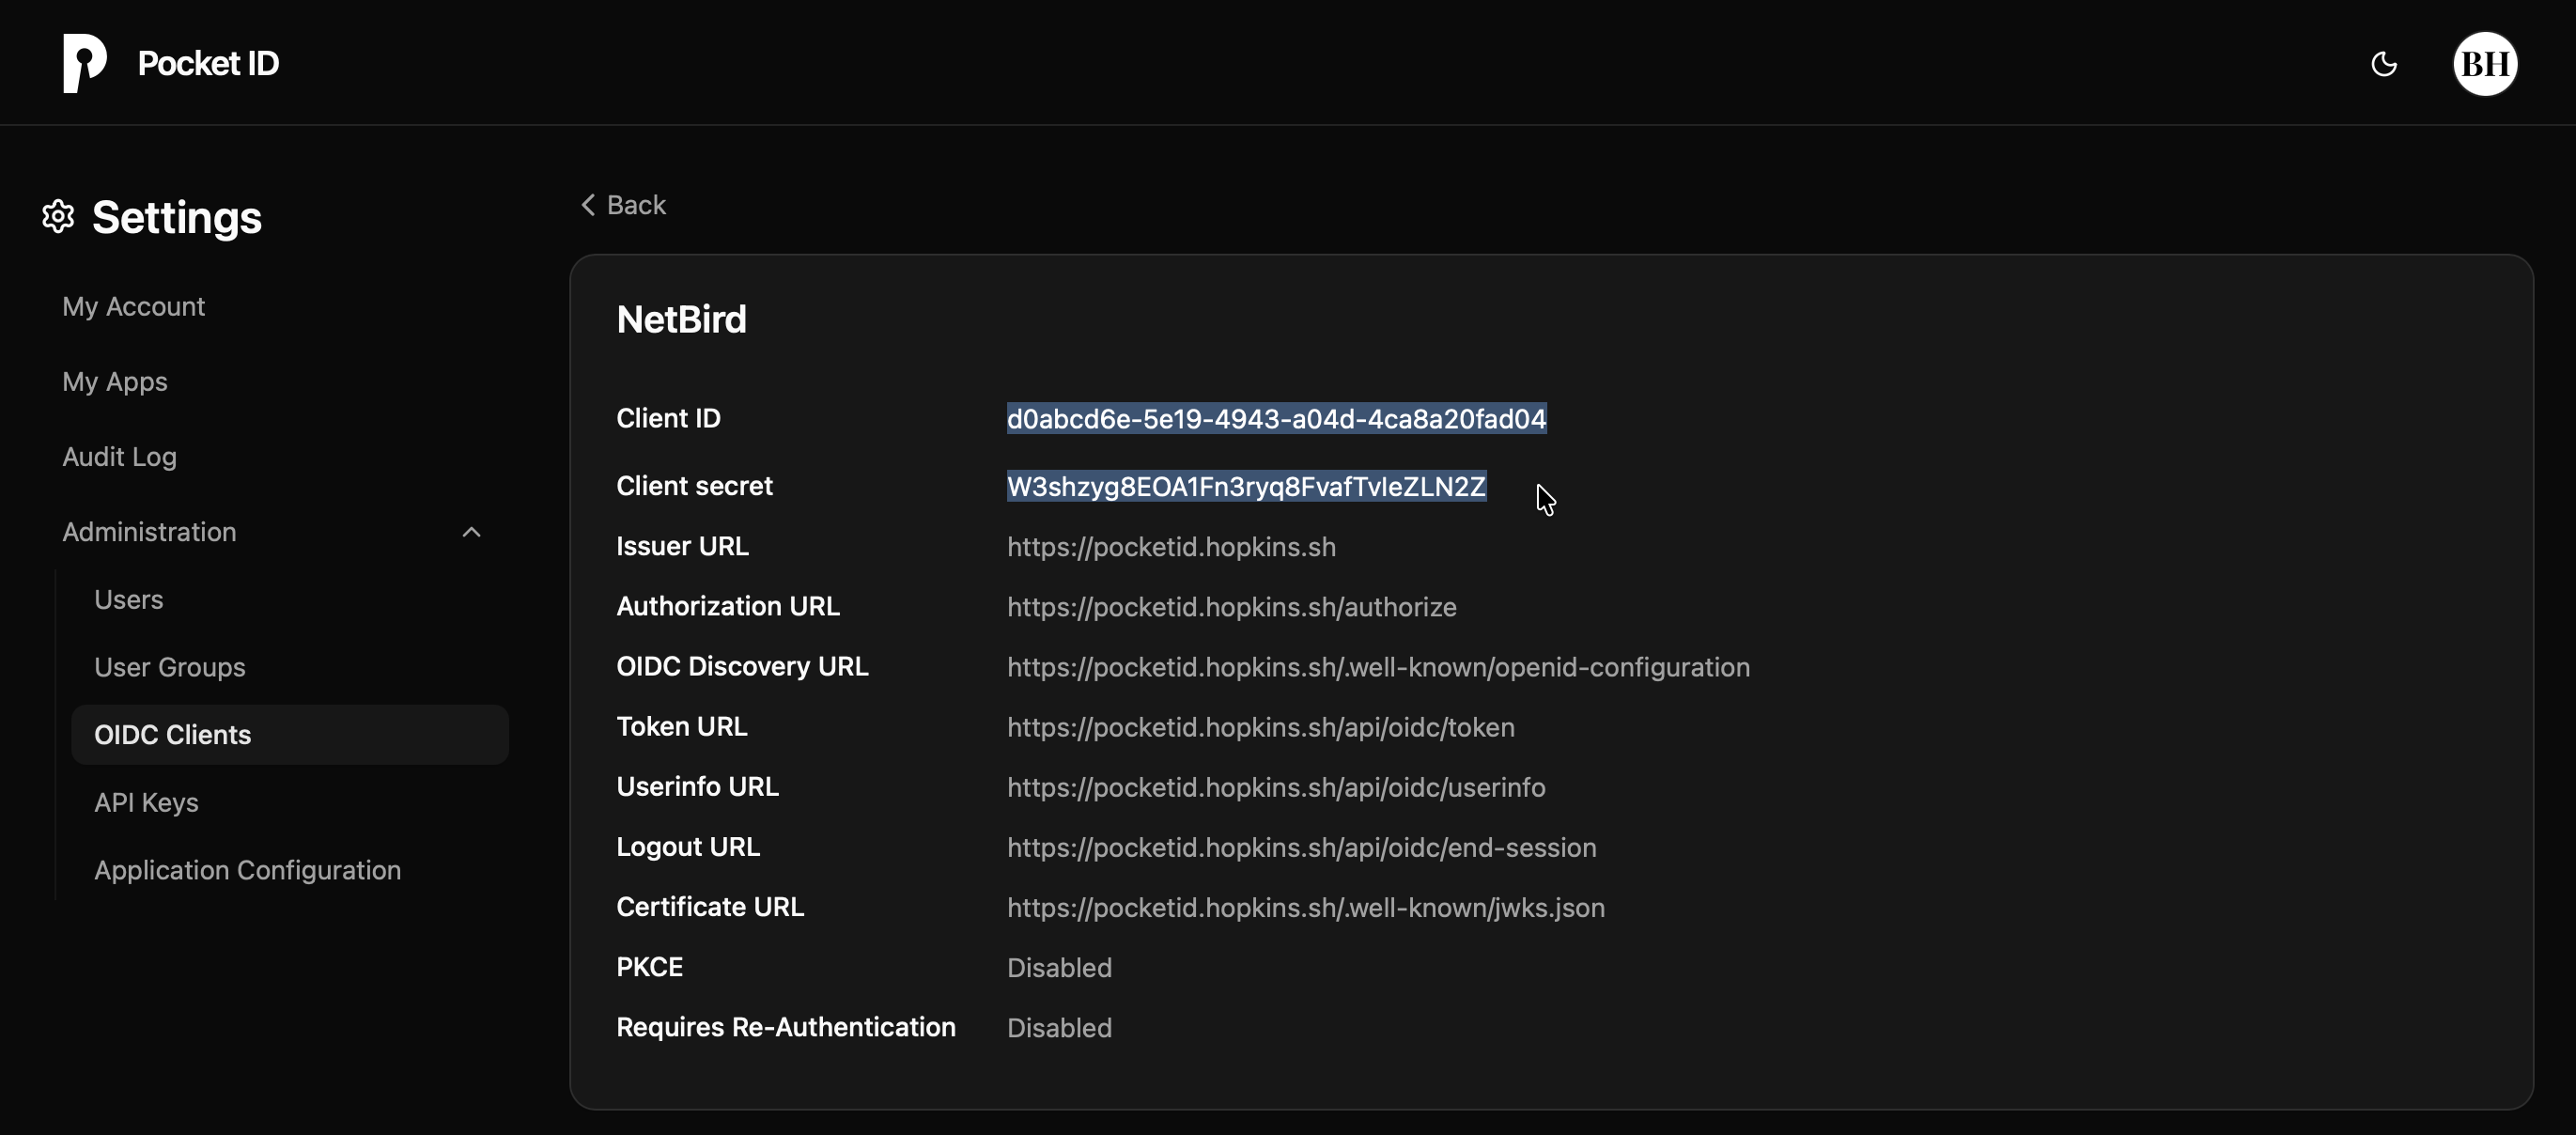
- Note the Client ID and Client Secret
Step 2: Add Identity Provider in QuFabric
- Log in to your QuFabric Dashboard
- Navigate to Settings → Identity Providers
- Click Add Identity Provider
- Fill in the fields:
| Field | Value |
|---|---|
| Type | PocketID |
| Name | PocketID (or your preferred display name) |
| Client ID | From PocketID |
| Client Secret | From PocketID |
| Issuer | https://pocketid.example.com |
Important: Make sure not to add a trailing slash "/" after the issuer URL for PocketID. This differs from some of the other providers.
- Click Save

Step 3: Configure Redirect URI
After saving, QuFabric displays the Redirect URL. Copy this URL and add it to your PocketID client:

- Return to PocketID console → OIDC Clients
- Edit your QuFabric client
- Add the redirect URL to Callback URLs
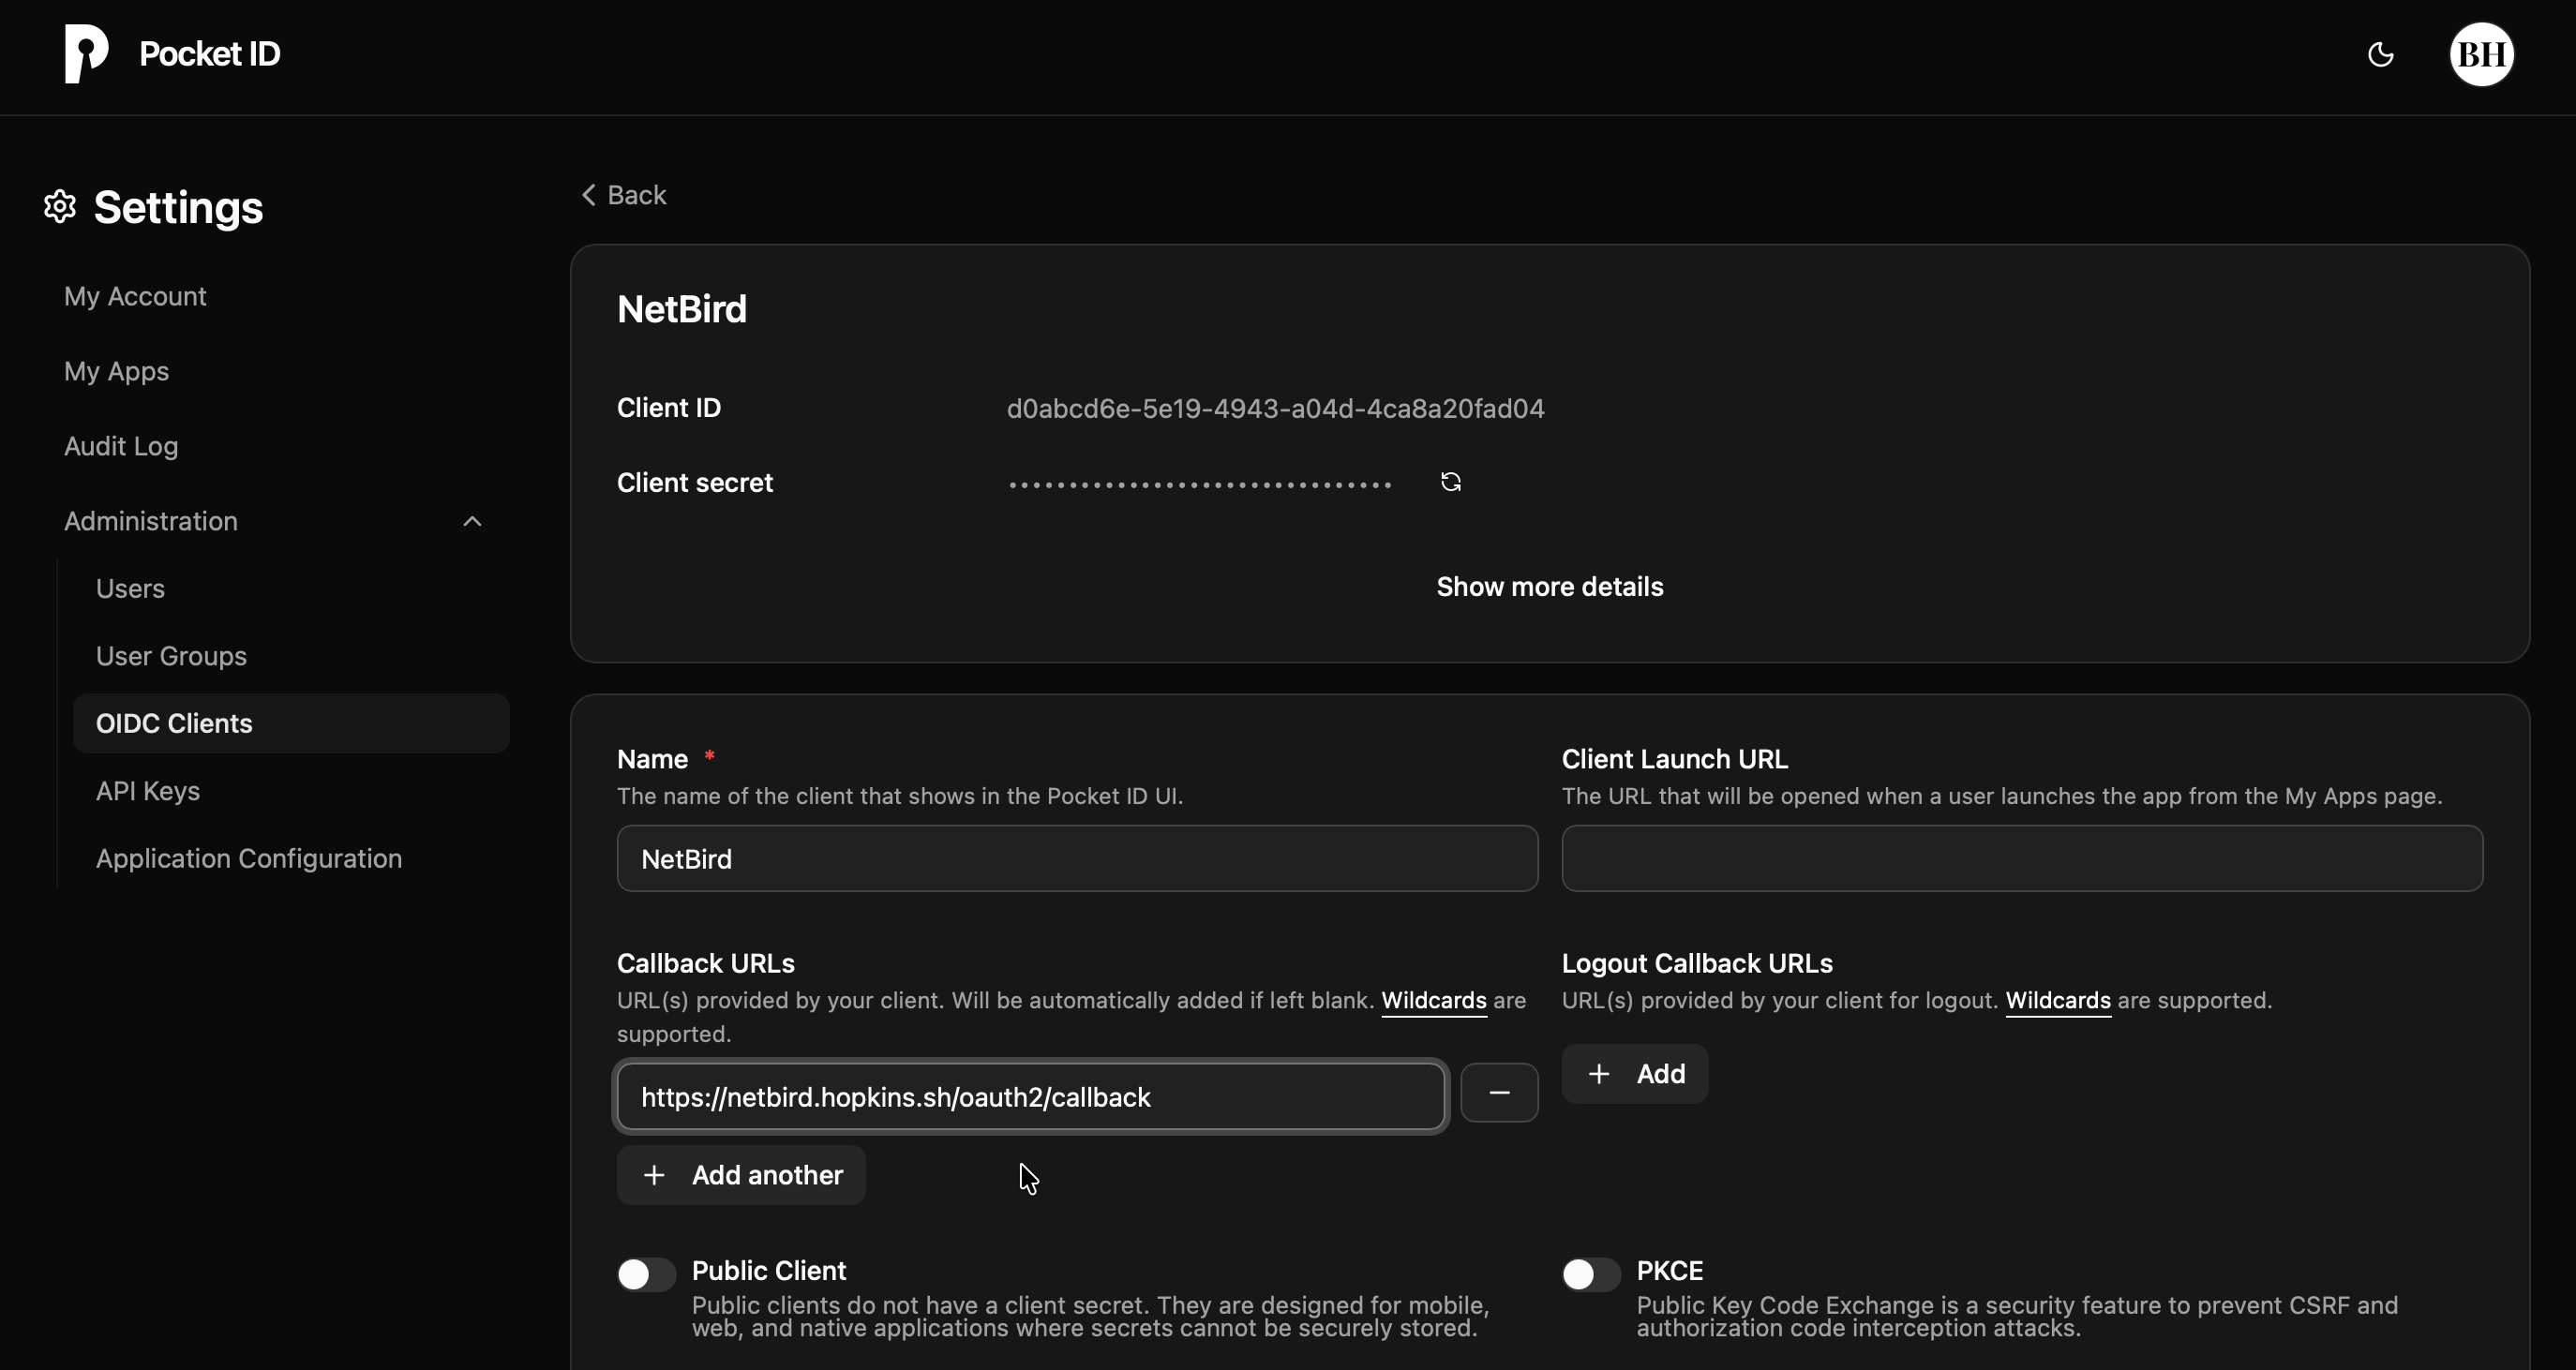
- Click Save
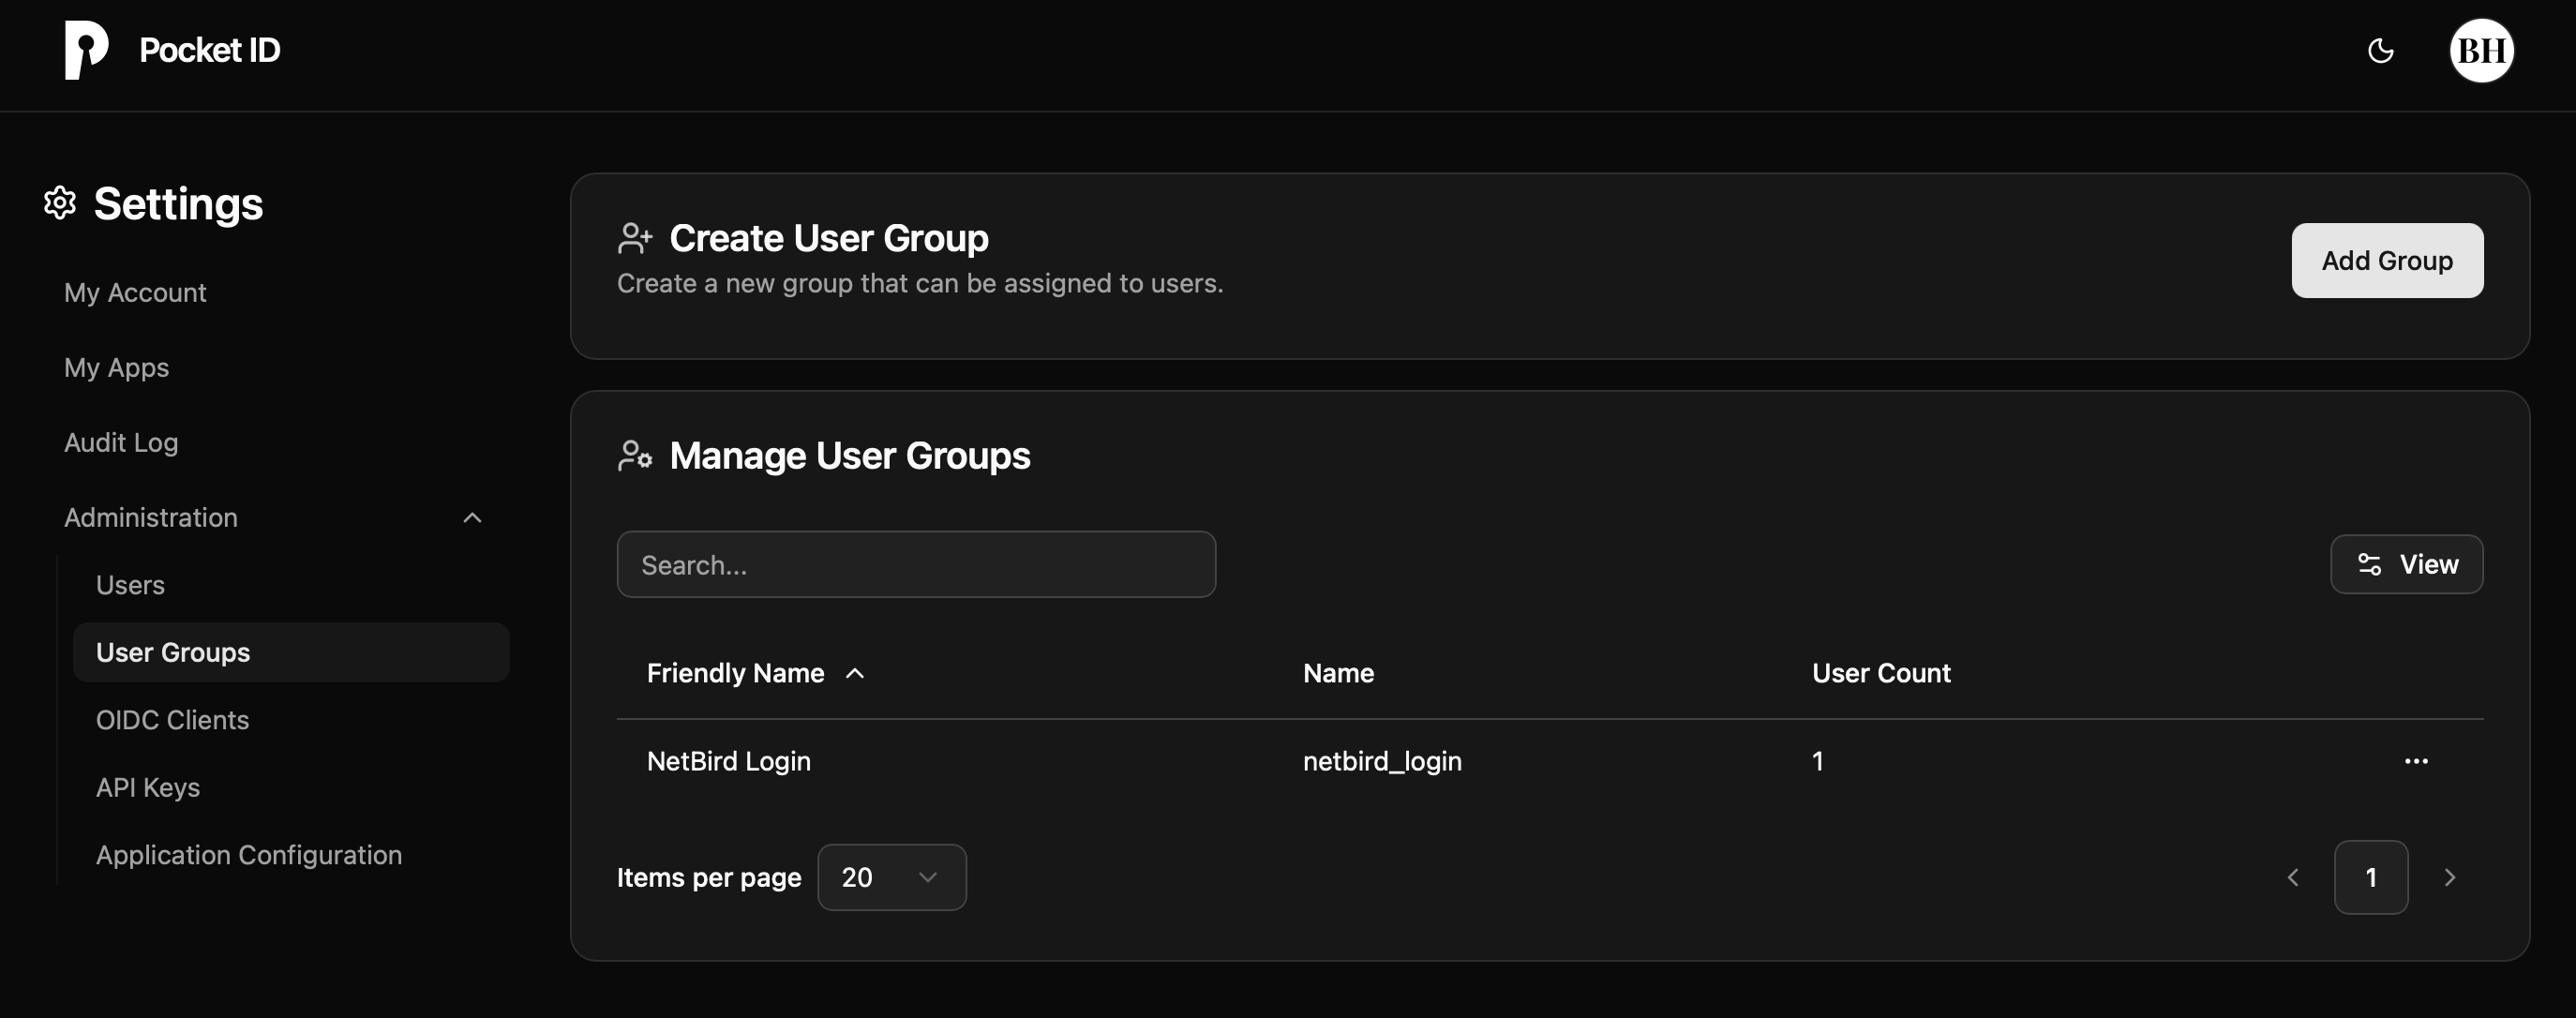
Step 4: Create User Group and Assign to Client
- Return to PocketID console → User Groups
- Click Add to create a new group
- Fill in:
- Name:
QuFabric
- Name:
- Click Save
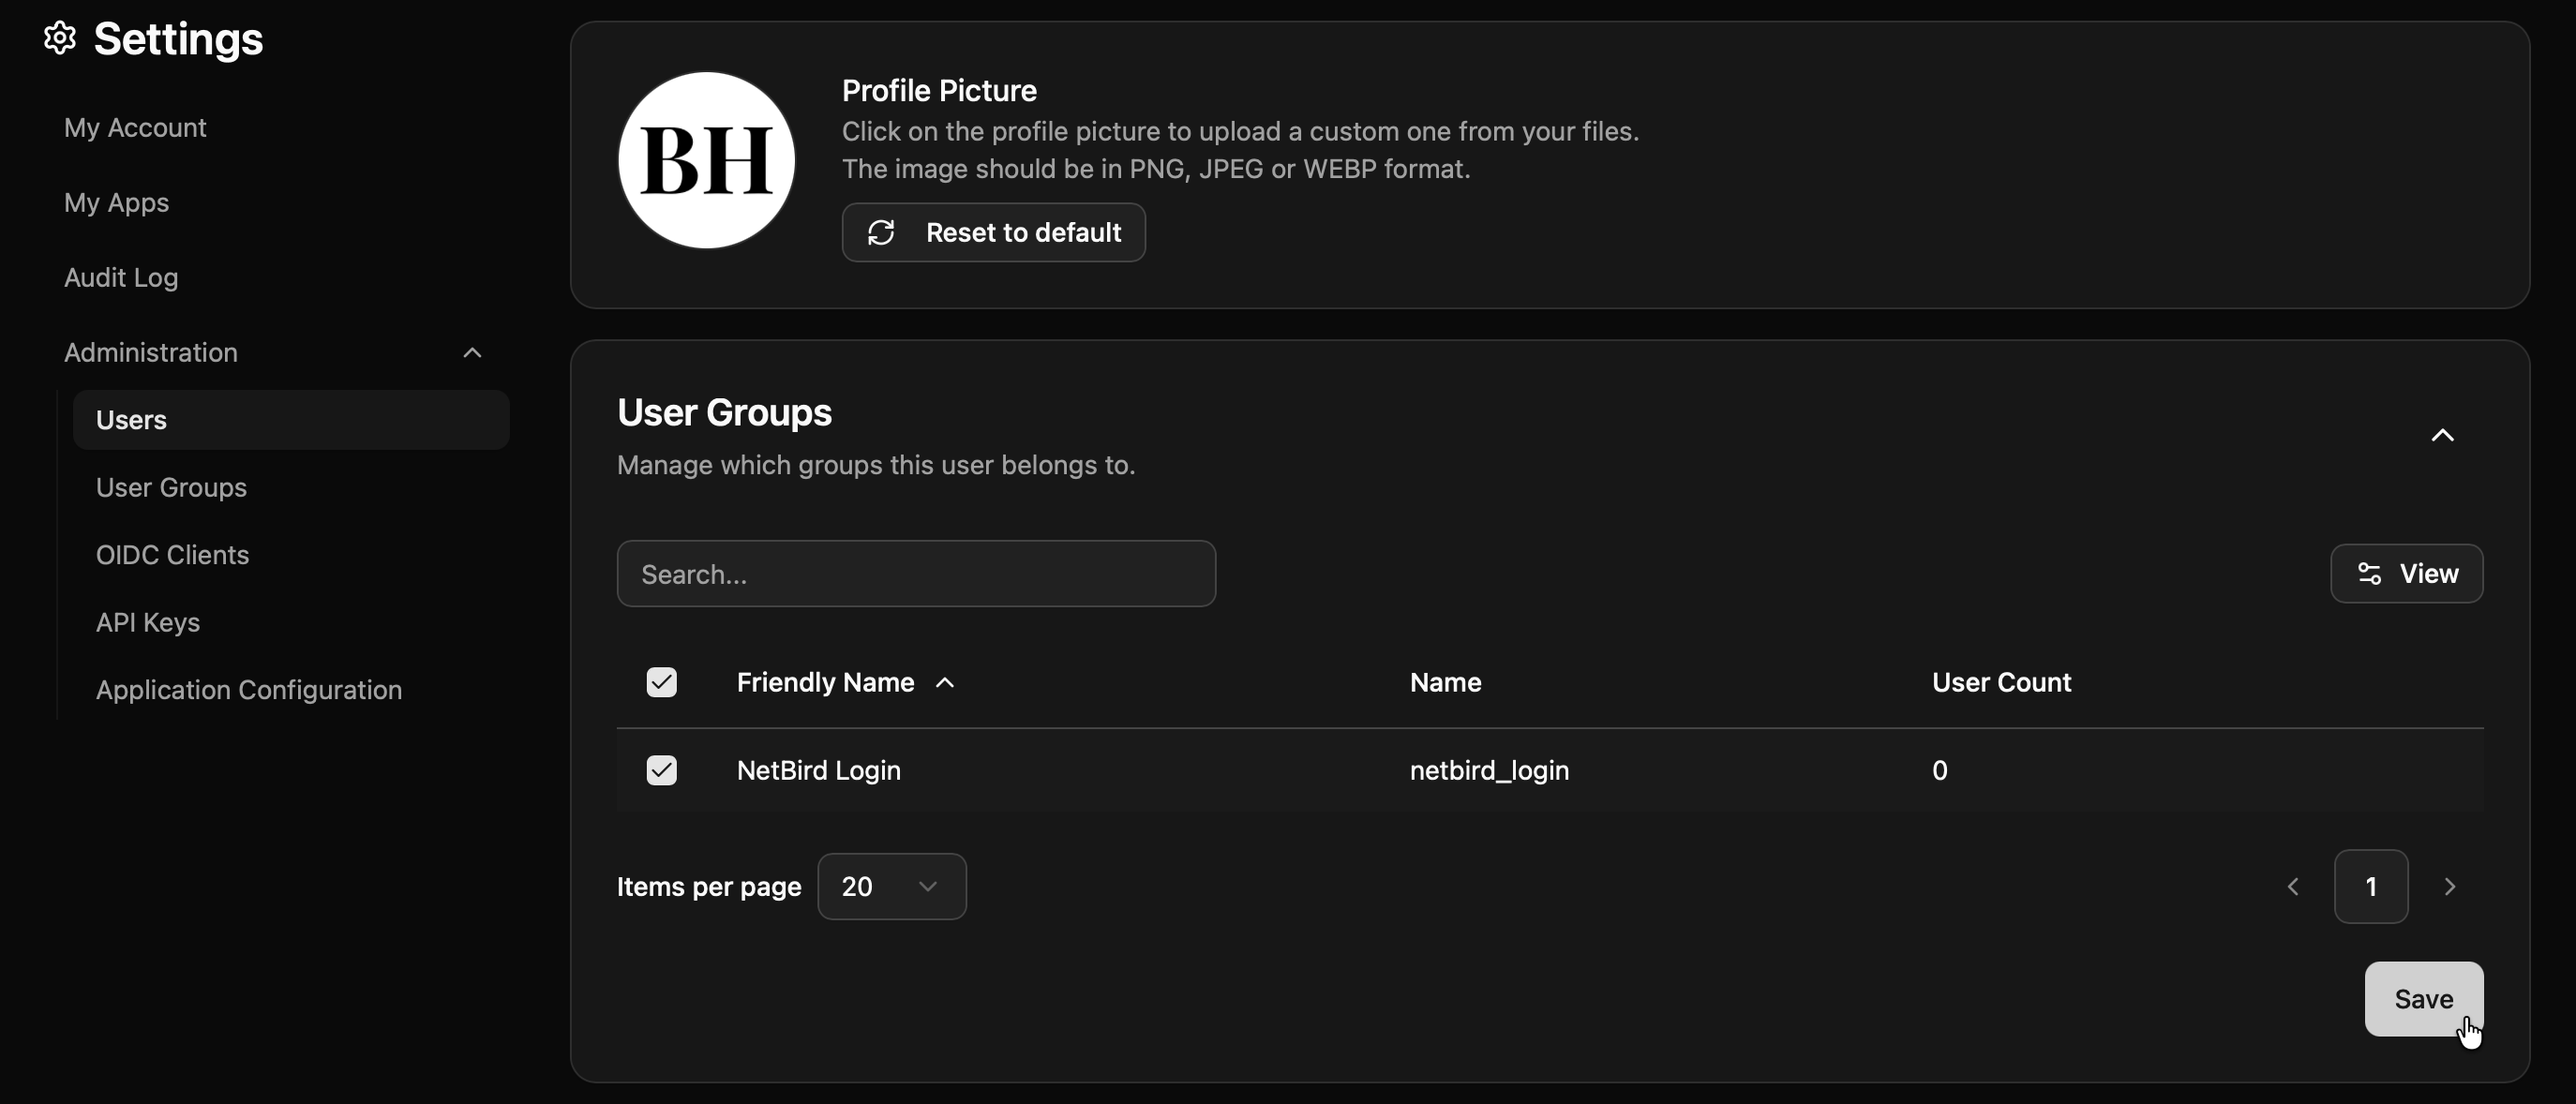
- Add users to the QuFabric group:
- Click on the QuFabric group
- Click Add Users
- Select the users who should have access to QuFabric
- Click Save or Add
- Go to OIDC Clients → QuFabric (the client you created earlier)
- Find the Groups or User Groups section
- Add the QuFabric group to the client

- Click Save
Step 5: Test the Connection
- Log out of QuFabric Dashboard
- On the login page, you should see a "PocketID" button
- Click it and authenticate with your PocketID credentials
- You should be redirected back to QuFabric and logged in
Configuring JWT 'groups' Claim
PocketID includes user groups in the ID token by default when you've assigned groups to users and linked those groups to the OIDC client. If you followed Step 4 above, groups should already be included in the token.
Verify Groups Are Included
- Ensure you've created a User Group in PocketID (Step 4)
- Ensure users are assigned to the group
- Ensure the group is linked to your QuFabric OIDC client
Enable JWT Group Sync in QuFabric
- In QuFabric Dashboard, go to Settings → Groups
- Enable JWT group sync
- Set JWT claim to
groups - Optionally configure JWT allow groups to restrict access to users in specific PocketID groups
PocketID restricts OIDC client access based on group membership. Only users in groups assigned to the OIDC client can authenticate. This is configured in Step 4 above.
Standalone Setup (Advanced)
Use PocketID as your primary identity provider instead of QuFabric's embedded IdP. This option gives you full control over authentication and user management, is recommended for experienced PocketID administrators as it also requires additional setup and ongoing maintenance.
For most deployments, the embedded IdP is the simpler choice — it's built into QuFabric, fully integrated, and requires minimal configuration to get started. For this implementation, go back up to the Management Setup (Recommended) section above.
For detailed instructions on the standalone setup, see the PocketID SSO with QuFabric Self-Hosted (Advanced) documentation.
Troubleshooting
"Invalid redirect URI" error
- Ensure all callback URLs are properly configured in PocketID
- Include both HTTP (localhost) and HTTPS (domain) variants